
Tag: 3
-
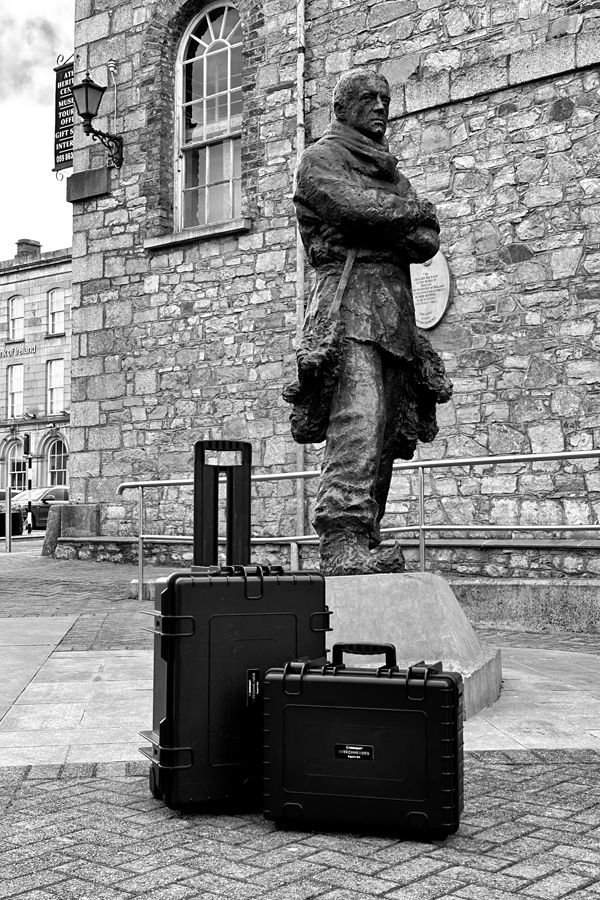
A Practical Guide For some Matterport Pro3 users, projects don’t always happen just down the road. Whether you’re scanning property abroad, documenting construction projects across Europe, or capturing commercial spaces further afield, it’s essential to understand the rules and best practices for travelling with your Pro3 camera and accessories. Airline regulations around lithium-ion batteries are…
-
Exterior scans – Mavic 3E Drone – with RTK positioning Interior scans – Matterport Pro 3 Revit Model GNSS Rover Zenith 60 used to get ITM coordinates to geolocate the drone model Processed in DroneDeploy Imported into Autodesk Recap The point-cloud generated from the Matterport fits within the point-cloud generated by the drone. Green –…
-
The Pro 3 has GPS, but the accuracy is only in the ‘Postcode’ range, in the UK sense. The GPS is not sufficiently accurate to geo-locate the model. An address including Eircode can be entered manually into the model information. The visibility of the address can be adjusted.
-
Connect Your Pro 3 Camera Having fully charged the battery put it into the base of the camera. Hold in the button on the back of the camera for 10 seconds. Go to Settings on the iPad. Choose Wi-Fi. It may be connected to your office/home Wi-Fi. Switch off Wi-Fi. Switch Wi-Fi on again. Wait…
-
Connect to Pro 3 to iPad Open Matterport App Settings – bottom left of iPad Firmware – update
-
Log iPad into to your buildings Wi-Fi: iPad – General – Software Update Check and update if required Matterport Capture App Go to App Store Choose your icon/image top right Scroll to Matterport App Update if required
-
Before you start capture: Download the Matterport Capture App Update iPad software Update Camera Firmware Purchase Matterport Subscription Minimum Professional Switch on camera Use Wi-Fi to connect the iPad to the camera Open Capture App Add model
-
Understanding Standard and Large Spaces Overview Matterport subscriptions allocate a number of Active Spaces rather than simply limiting the number of models. Most everyday projects are classed as Standard Spaces, but larger surveys containing higher numbers of scan points become Large Spaces, consuming additional Active Spaces within your subscription. Understanding how this works is essential…
-
Pro 3 interchangeable battery c.2.5 – 3 hours Change and recharge at 30/40% capacity Battery can go from 20% to zero in a couple of scans Personal Kit 4x batteries 2x chargers